Installing Hardwood Floors: Tips, Tools, and Common Mistakes
DIY Installing Hardwood Floors: Tips, Tools, and Common Mistakes
Hardwood flooring is one of the few upgrades that can truly transform a home — adding warmth, value, and timeless style to any room. While professional installation offers convenience, many homeowners are tackling the process themselves to save money and take pride in their own handiwork.
However, installing hardwood floors isn’t as simple as laying down a few planks and calling it a day. It’s a detailed project that demands precision, planning, and patience. From selecting the right tools to avoiding costly mistakes, a little education will go a long way toward achieving professional-looking results.
Let’s dive into everything you need to know about DIY installing hardwood floors — including essential preparation steps, must-have tools, pro tips, and how a dumpster rental from In-Laws Services can make cleanup easier and faster.
Why DIY Hardwood Floor Installation Appeals to Homeowners
There’s something incredibly satisfying about standing back and admiring a floor you installed with your own two hands. DIY installation not only saves on labor costs but also gives you full control over the process, from choosing the wood type to the precise pattern you lay.
The appeal often comes down to:
- Cost savings: Hardwood flooring installation can cost thousands in labor. Doing it yourself can reduce expenses significantly.
- Creative control: You determine the pattern, finish, and final look.
- Personal accomplishment: Installing your own floors adds both value and a sense of pride in your home.
- Learning opportunity: This is a hands-on project that builds real-world DIY skills for future renovations.
That said, proper preparation is key to success. Let’s start there.
Preparing for Installation
Before unpacking your hardwood planks, spend time preparing the job site. The quality of your installation depends heavily on the environment and the surface you’re working with.
1. Measure Your Space Accurately
Accurate measurements ensure you order the right amount of hardwood (typically adding 10% extra for cuts and waste). Measure the length and width of each room in feet and multiply to get square footage.
2. Choose the Right Hardwood Type
There are two primary types: solid hardwood and engineered hardwood.
- Solid hardwood is made from a single piece of wood and can be sanded and refinished multiple times.
- Engineered hardwood uses a real wood veneer over a manufactured core, making it more stable for basements or high-humidity areas.
Each type has unique installation requirements, so read the manufacturer’s guidelines carefully.
3. Acclimate the Flooring
Wood expands and contracts with humidity and temperature changes. To prevent warping, leave your unopened boxes of flooring in the installation room for at least 3–5 days. This allows the wood to adjust to the room’s environment.
4. Prepare the Subfloor
A smooth, dry, and clean subfloor is critical. Remove any previous flooring, nails, staples, or debris. Check for squeaks and secure loose boards with a few screws. Then, ensure the floor is level — any dips greater than 1/8 inch over 6 feet should be filled or sanded down.
5. Plan for Waste and Debris
Tearing out old carpeting, underlayment, or tile can create a surprising amount of waste. Renting a dumpster early in your project is a practical way to manage debris efficiently (more on that later when we discuss why In-Laws Services is a great choice).
Tools You’ll Need for Installing Hardwood Floors
Having the right tools on hand before you start will make your installation go smoothly and help avoid mid-project frustration. Here’s what you’ll need:
Essential Tools
- Tape measure: For accurate room and plank measurements.
- Chalk line: To mark a precise starting line.
- Flooring nailer (or stapler): Specialized nailers are designed for flooring installation.
- Miter saw and table saw: For cutting planks to fit edges, corners, and doorways.
- Rubber mallet: Helps set boards snugly without damage.
- Pry bar and pull bar: Useful for tightening the final rows.
- Level: To keep surfaces even.
- Moisture meter: Essential for checking both wood and subfloor moisture levels.
- Knee pads: Comfort is key during long hours on your knees.
Materials and Supplies
- Flooring adhesive (for glue-down installations).
- Plastic sheeting or vapor barrier (especially for concrete subfloors).
- Wood putty for filling nail holes.
- Floor underlayment or foam padding (if required).
- Finishing trim, baseboards, and transition strips.
Step-by-Step Guide to Installing Hardwood Floors
The installation method depends on your flooring type — nail-down, glue-down, or click-lock floating systems. Here’s an overview of how to install most nail-down or click-lock hardwood floors.
Step 1: Set Your Layout
Start by marking your layout lines. Use your chalk line to draw a straight line parallel to the longest wall, leaving a 3/8-inch expansion gap between the wall and the first board. This gap allows for natural wood expansion over time.
Step 2: Start with the Straightest Boards
Begin installing from your longest or most visible wall. Place the straightest boards first, with the groove side facing the wall. This sets the tone for the entire floor — if the first row isn’t straight, the rest won’t be either.
Step 3: Secure the First Row
Drill pilot holes and nail through the tongue of the board into the subfloor. Once the first row is secure, continue adding boards, staggering end joints by at least 6 inches between rows to create a natural look.
Step 4: Cut to Fit as You Go
Use a miter saw for precise cuts at the ends of rows or around obstructions like door frames and vents. Measure twice before cutting to avoid wasting materials.
Step 5: Keep it Tight
Use a flooring mallet and tapping block to gently nudge boards into place without damaging their edges. Tight seams make the finished floor look professional.
Step 6: Continue Across the Room
Work your way across, locking and nailing planks as needed. Always check alignment every few rows to ensure you’re not drifting off your layout line.
Step 7: Finish the Final Row
The last row may need to be trimmed to fit. Use a pull bar to snap it tightly in place without leaving gaps.
Step 8: Add Trim and Molding
Finish your floor by installing baseboards or quarter-round molding to cover the expansion gap. Then, give your new hardwood a gentle clean and enjoy the transformation.
Common Mistakes to Avoid When Installing Hardwood Floors
Even skilled DIYers can make mistakes that compromise their results. Here’s what to avoid during your flooring project:
1. Skipping Acclimation
Failing to let the wood adjust to your home’s humidity often leads to warping, buckling, or gaps once the floor settles.
2. Ignoring Moisture Levels
Too much moisture can destroy hardwood over time. Always test both the subfloor and wood planks with a moisture meter. If readings are uneven, wait before installing.
3. Forgetting Expansion Gaps
Never install flooring flush against walls or cabinets. Without room to expand, the wood will push upward or separate in the middle of the floor.
4. Laying Over an Uneven Surface
A bumpy subfloor results in creaks, gaps, and instability. Sand or level low spots before starting.
5. Using the Wrong Tools
Improvising with a regular hammer or hand nails can cause damage to tongues and grooves. A flooring nailer or stapler is worth the investment or short-term rental.
6. Poor Board Staggering
Lining up seams too closely makes the floor look unnatural. Keep end joints offset for both aesthetics and structural integrity.
7. Not Planning for Waste
Hardwood projects create a surprising volume of debris — packaging, sawdust, old flooring, and underlayment. Neglecting disposal can slow progress and clutter your workspace.
How a Dumpster Rental from In-Laws Services Helps
Home improvement projects, especially flooring installation, generate more mess than most people expect. Between old carpet removal, padding, nails, wood scraps, and packaging, debris can pile up fast.
Renting a dumpster from In-Laws Services makes managing waste simple, clean, and efficient — freeing you to focus on creating your dream floors rather than worrying about cleanup.
Here’s how a dumpster rental supports your project:
1. Convenient Waste Management
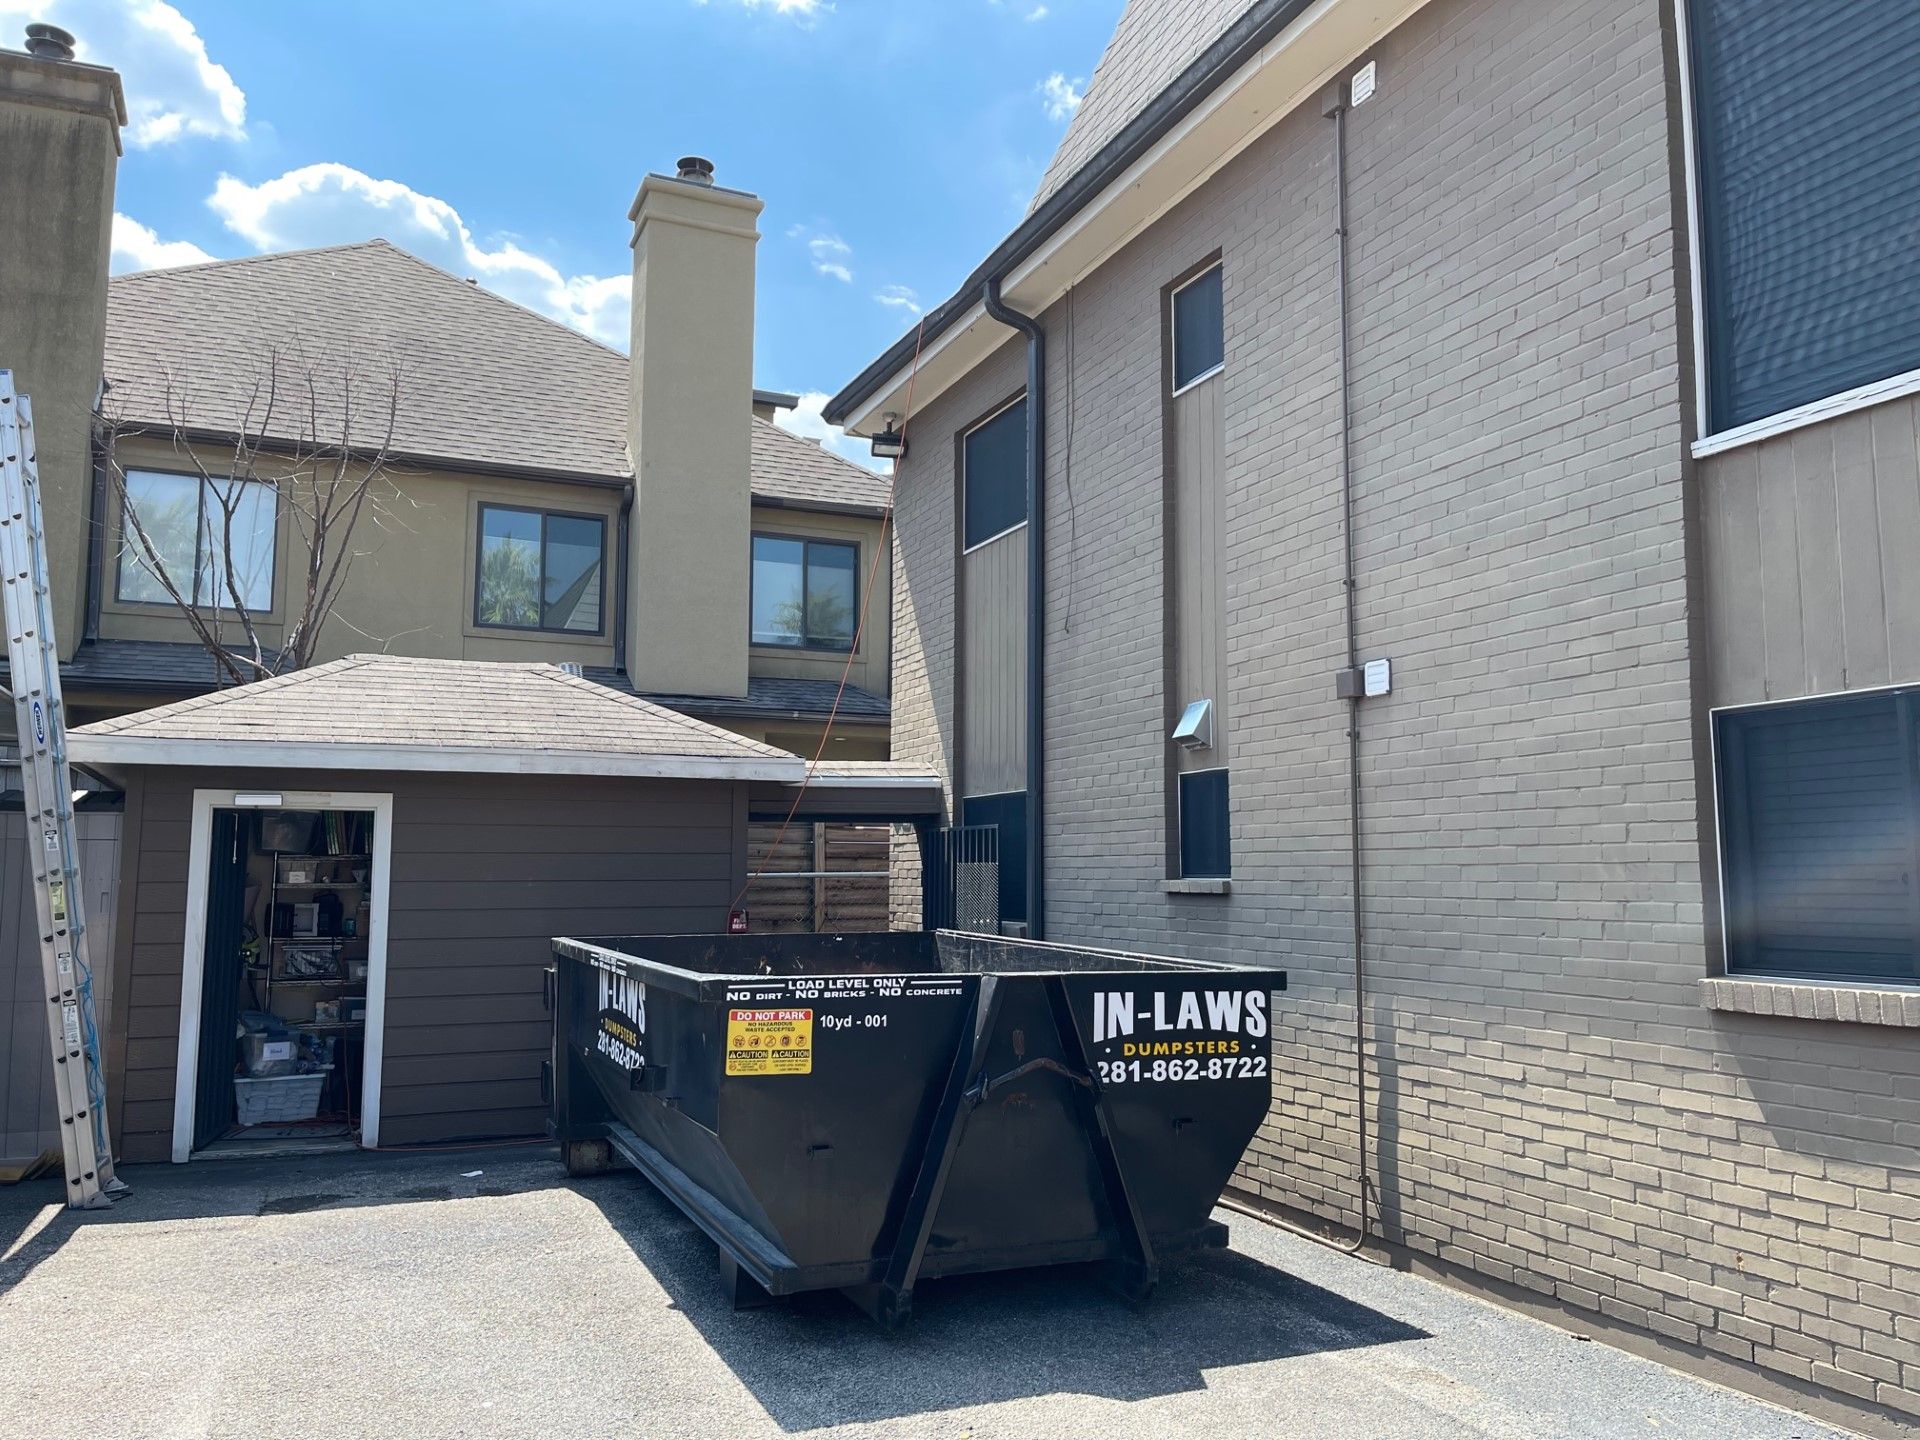
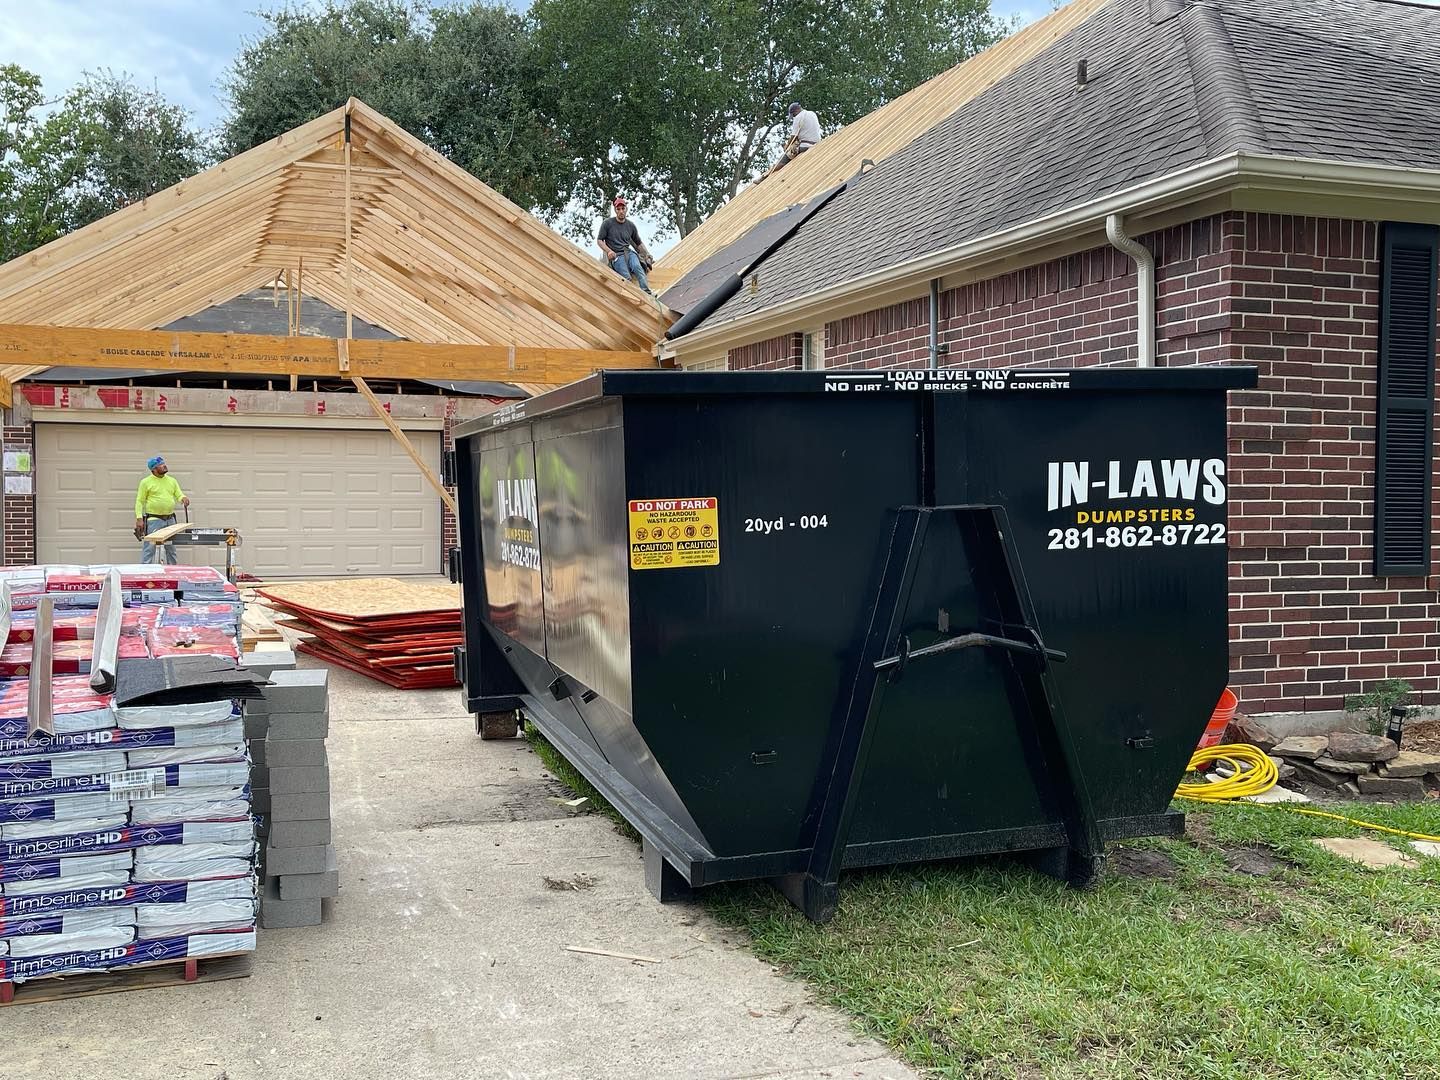
Instead of stacking debris in garbage bags or making repeated trips to the dump, you can toss everything into one central container. In-Laws Services delivers a dumpster directly to your driveway and picks it up when you’re done — no hassle, no extra cleanup time.
2. Perfect for Flooring Removal
Tearing out carpet, tile, or laminate flooring creates bulky waste that can’t fit into curbside bins. A roll-off dumpster easily handles large, awkward materials and even old wood planks.
3. Time Savings
Time spent managing waste can stall your progress. With a dumpster on-site, you can discard as you go — keeping your workspace organized and productivity high.
4. Safe Worksite
An organized area reduces the risk of tripping over piles of removed flooring or loose nails. A dumpster ensures all hazardous materials go directly into disposal, keeping your garage, driveway, and rooms free from clutter or sharp objects.
5. Eco-Friendly Disposal
In-Laws Services prioritizes responsible disposal, often separating recyclable materials from landfill waste. You can enjoy your new hardwood floors knowing your project cleanup was environmentally conscious.
Whether you’re replacing a single room or flooring your entire home, the efficiency of proper waste management can shave hours — even days — off your project timeline.
Post-Installation Care and Maintenance Tips
After installing your hardwood floors, maintaining them properly will keep them looking beautiful for decades. Here are some essential aftercare tips to extend their lifespan:
Daily and Weekly Maintenance
- Sweep or vacuum regularly using a soft-bristle attachment to prevent scratches.
- Clean spills immediately with a dry or slightly damp microfiber cloth.
- Avoid steam mops — excessive heat or water can damage wood.
Seasonal Adjustments
Wood floors expand in humidity and contract in dry air. Use a humidifier during winter and a dehumidifier during summer to maintain consistent conditions.
Protective Strategies
- Use area rugs in high-traffic zones.
- Place felt pads under furniture legs.
- Remove shoes at the door to reduce grit and dirt.
Refinishing Schedule
Solid hardwood can be sanded and refinished every 7–10 years, depending on wear. Engineered floors can be lightly refinished but may require a new finish sooner if the veneer is thin.
Cost Overview for DIY Hardwood Installation
While prices vary by region, installing hardwood floors yourself saves on labor while still requiring some investment in materials and tools.
Average Cost Breakdown
While prices vary depending on your location and material choice, doing the work yourself can substantially reduce expenses. Here’s a general breakdown of what to expect:
- Hardwood flooring material: typically $4 – $10 per square foot
- Underlayment or vapor barrier: about $0.50 – $1.00 per square foot
- Equipment rental (saws, nailers, etc.): around $150 – $300 total
- Dumpster rental (from In-Laws Services): varies based on size and rental duration
- Finishing trim and molding: approximately $1 – $3 per linear foot
By handling installation yourself, you can often cut your total flooring project costs nearly in half compared to professional labor, which usually ranges from $8 – $15 per square foot including installation.
When to Consider Hiring a Professional
For most homeowners, DIY installing hardwood floors is possible with the right tools and preparation. However, if any of the following apply, it might be worth hiring a pro:
- You’re installing exotic or intricate patterned wood.
- The subfloor needs structural repairs.
- You have concrete subfloors and are unfamiliar with glue-down or floating systems.
- Time constraints make DIY impractical.
Hiring an expert ensures faster completion and peace of mind that your floors are installed perfectly — but even if you go that route, understanding the process helps you communicate expectations clearly.
FAQs About Installing Hardwood Floors
1. How hard is it to install hardwood floors yourself?
Installing hardwood floors is a moderate DIY project that requires patience and precision. If you’re comfortable with measuring, cutting, and using power tools, you can achieve professional-looking results by following proper techniques and taking your time.
2. What tools do I need for installing hardwood floors?
Essential tools include a tape measure, chalk line, flooring nailer or stapler, miter saw, rubber mallet, pry bar, and moisture meter. Having these tools ready before you begin ensures a smooth, efficient installation process.
3. How long does it take to install hardwood flooring?
Most homeowners can expect to spend 2–4 days installing hardwood floors in an average-sized room. Preparation, subfloor repairs, and acclimating the wood will add extra time before actual installation begins.
4. Do I need a dumpster rental for hardwood floor installation?
Yes, if you’re removing old flooring or underlayment, a dumpster rental from In-Laws Services will make cleanup fast and convenient. It prevents clutter, keeps your workspace safe, and helps you stay organized during the project.
5. What’s the difference between solid and engineered hardwood floors?
Solid hardwood is milled from a single piece of wood and can be refinished multiple times, while engineered hardwood has a real wood veneer over a stable core, making it better for moisture-prone areas like basements.
Final Thoughts
Installing hardwood floors yourself is both rewarding and financially smart when done with care. The keys to success are preparation, patience, and precision — plus a strong understanding of the tools and materials involved.
Whether you’re updating a single room or transforming your entire home, following these tips will help you achieve flawless, long-lasting results. Don’t cut corners on prep work, and don’t underestimate how much waste this project will produce. Renting a dumpster from In-Laws Services keeps your workspace clean and efficient, allowing you to focus on what truly matters: crafting a stunning hardwood floor that adds character and value to your home for years to come.