5 Tips for an Easy Carpet Removal Project
5 Tips for an Easy Carpet Removal Project
Removing old carpet can completely transform a living space—revealing beautiful floors underneath, preparing for new flooring, or simply giving your home a fresh start. However, carpet removal tends to be one of those projects that looks easier than it really is. Between the heavy lifting, hidden tack strips, and leftover debris, it’s easy to get overwhelmed if you’re not fully prepared.
With the right plan and tools, though, carpet removal can be straightforward and surprisingly quick. Here are five expert tips for an easy carpet removal project, plus how renting a dumpster from a local waste management provider like In-Laws Services can make cleanup seamless.
1. Prepare Your Space Before Starting
Preparation is key to any successful home improvement task, and carpet removal is no exception. Start by clearing the entire room—furniture, décor, and baseboards if possible. You’ll want a fully open area so you can roll and cut carpet without obstacles getting in the way.
Next, gather your tools. The essentials for carpet removal include:
- Utility knife or carpet cutting tool
- Pry bar or pliers for pulling up tack strips
- Work gloves to protect your hands
- Dust mask to avoid inhaling carpet dust
- Knee pads for comfort during floor-level work
Once everything is out of the room, look for vents, thresholds, or door trims that may need temporary removal to avoid damage when pulling up the flooring. Turning off the HVAC system is also a good idea—old carpet fibers can become airborne and circulate through vents.
A few extra minutes of prepping can save hours of frustration later and help keep the rest of your home clean during the process.
2. Work in Manageable Sections
When it’s time to cut and lift, don’t try to handle the entire carpet at once. Many homeowners make the mistake of rolling up an entire room’s carpet into one heavy bundle—it’s unnecessary and difficult to move.
Instead, divide the carpet into sections about 3–4 feet wide. Start in a corner and use your utility knife to slice through the backing. Grab a section and pull it away from the padding underneath. Rolling up smaller pieces makes them easier to lift and carry out of the room while also reducing the workload on your back and shoulders.
Most carpets are tacked down along the edges with small nails or staples in thin strips of wood. Once you roll up each section, use a pry bar to gently lift those strips. Be cautious—tack strips are sharp and can easily scratch floors or cause injury. Many DIYers overlook these, but removing them is just as important as taking out the carpet itself.
This methodical approach not only simplifies your project but also keeps your workspace cleaner and safer as you go.
3. Don’t Forget About Carpet Padding
Beneath most carpets is a layer of foam or rubber padding that acts as a shock absorber. While it might be tempting to leave it if it looks clean, padding often deteriorates over time and clings to the floorboards underneath. Removing and replacing it ensures your new flooring lays evenly.
Start by checking how the padding is attached. In many homes, padding is stapled or glued to the subfloor. If it’s stapled, use pliers to pull them out carefully, working in a grid pattern across the space. If adhesive was used, you’ll likely need a floor scraper to lift stuck-on pieces or residue.
Some padding will tear as you pull it up—don’t worry, that’s normal. Just work in sections as you did with the carpet. You can roll or bag the padding for disposal. However, old padding can take up a lot of space quickly. That’s where renting a small dumpster becomes incredibly helpful. It allows you to toss padding, tack strips, and carpet sections without overflowing your curbside trash bin.
Proper padding removal also prevents mold and mildew buildup, especially if your old carpet was in a basement or high-moisture area.
4. Clean and Inspect the Subfloor
Once you’ve pulled up all the carpet and padding, you’ll reveal what’s underneath—typically plywood or concrete. Take some time to vacuum and sweep the area thoroughly. Carpet removal tends to uncover years of hidden dust, pet hair, and debris that can affect indoor air quality if not cleaned properly.
Inspect the subfloor for signs of damage, nails left behind, or areas that squeak. Addressing these issues now will make a big difference before new flooring installation. Tighten loose boards with screws, patch holes, and sand any uneven areas.
If you plan to leave your floors bare for a while, consider sealing the subfloor to prevent odors or dust from lingering. A freshly cleaned floor also gives you a sense of what needs repair—and gives your space that satisfying “clean slate” feeling.
5. Plan for Easy and Efficient Disposal
After a carpet removal project, you’ll quickly realize how bulky and heavy carpet waste becomes. A single room’s worth of old flooring can fill multiple large trash bags, and most municipalities won’t take carpet in standard curbside pickups. Disposing of it responsibly requires a better solution.
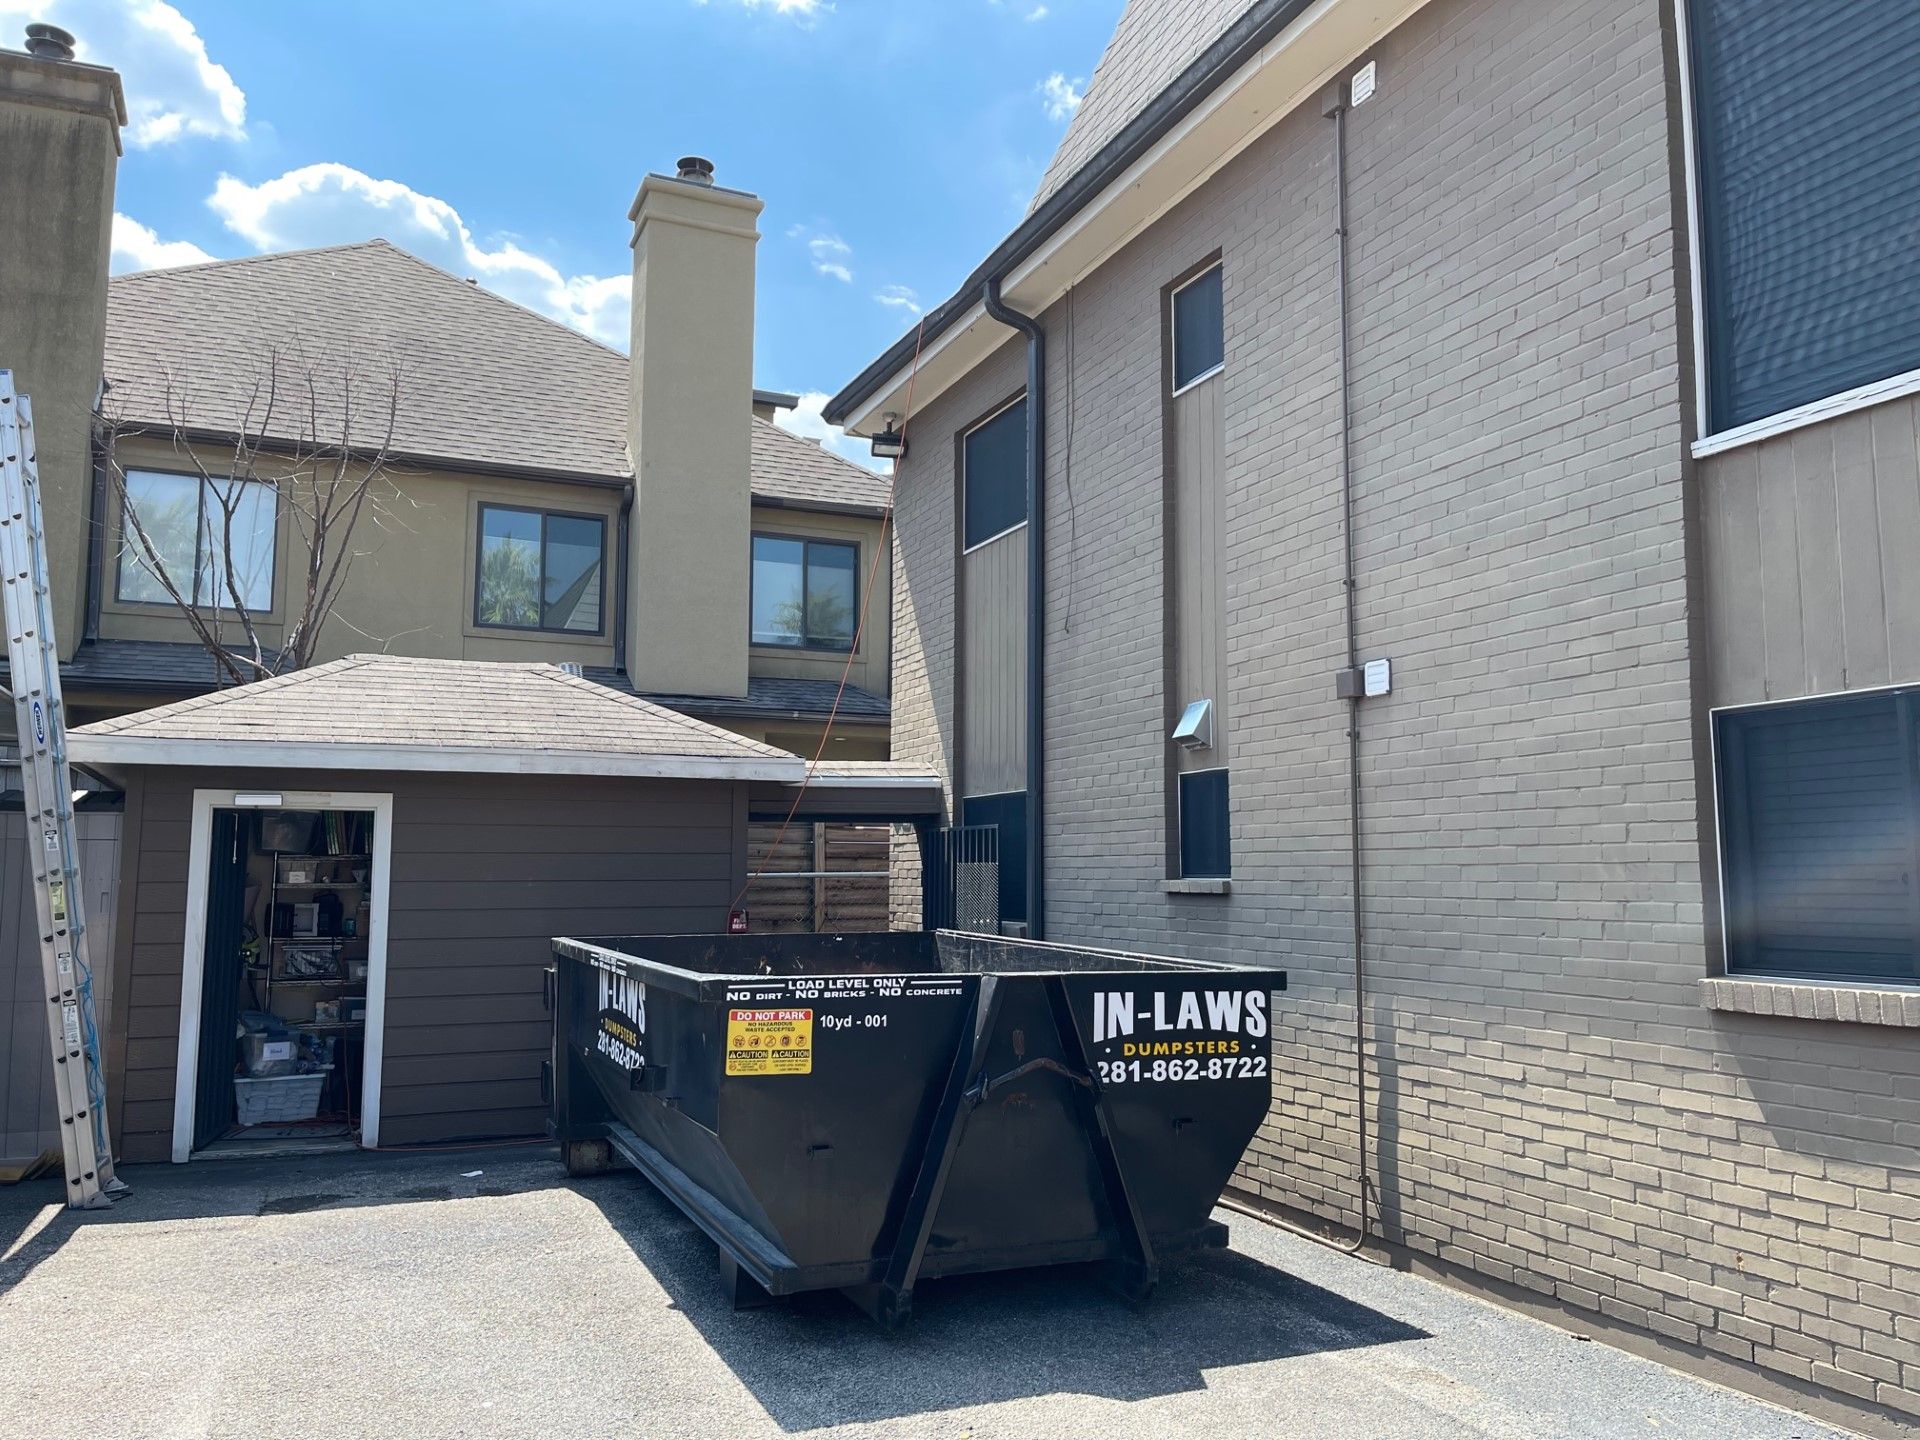
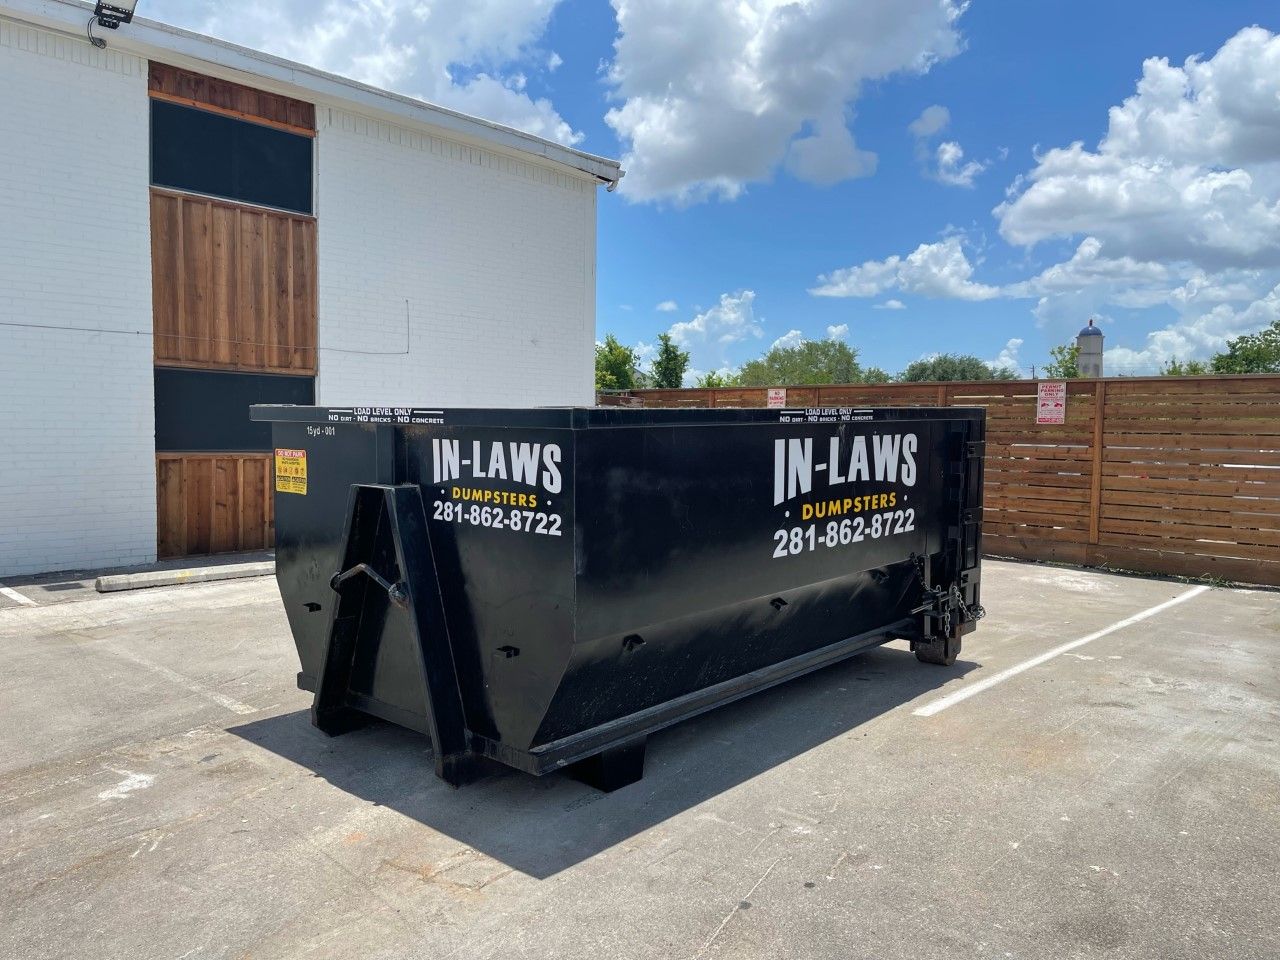
Renting a dumpster from In-Laws Services is one of the easiest and most cost-effective ways to handle carpet disposal. Their dumpsters come in various sizes to fit both small home renovation projects and full flooring replacements. With a dumpster on-site, you can:
- Toss carpet, padding, tack strips, and subfloor debris as you work.
- Avoid multiple trips to the landfill or waste station.
- Keep your driveway and lawn clutter-free.
- Finish your project faster—no post-demolition cleanup headaches.
Convenience is just one benefit. In-Laws Services handles the hauling and responsible disposal of your waste materials, ensuring they are dealt with according to local environmental regulations. This not only saves time but also reduces your project’s environmental footprint.
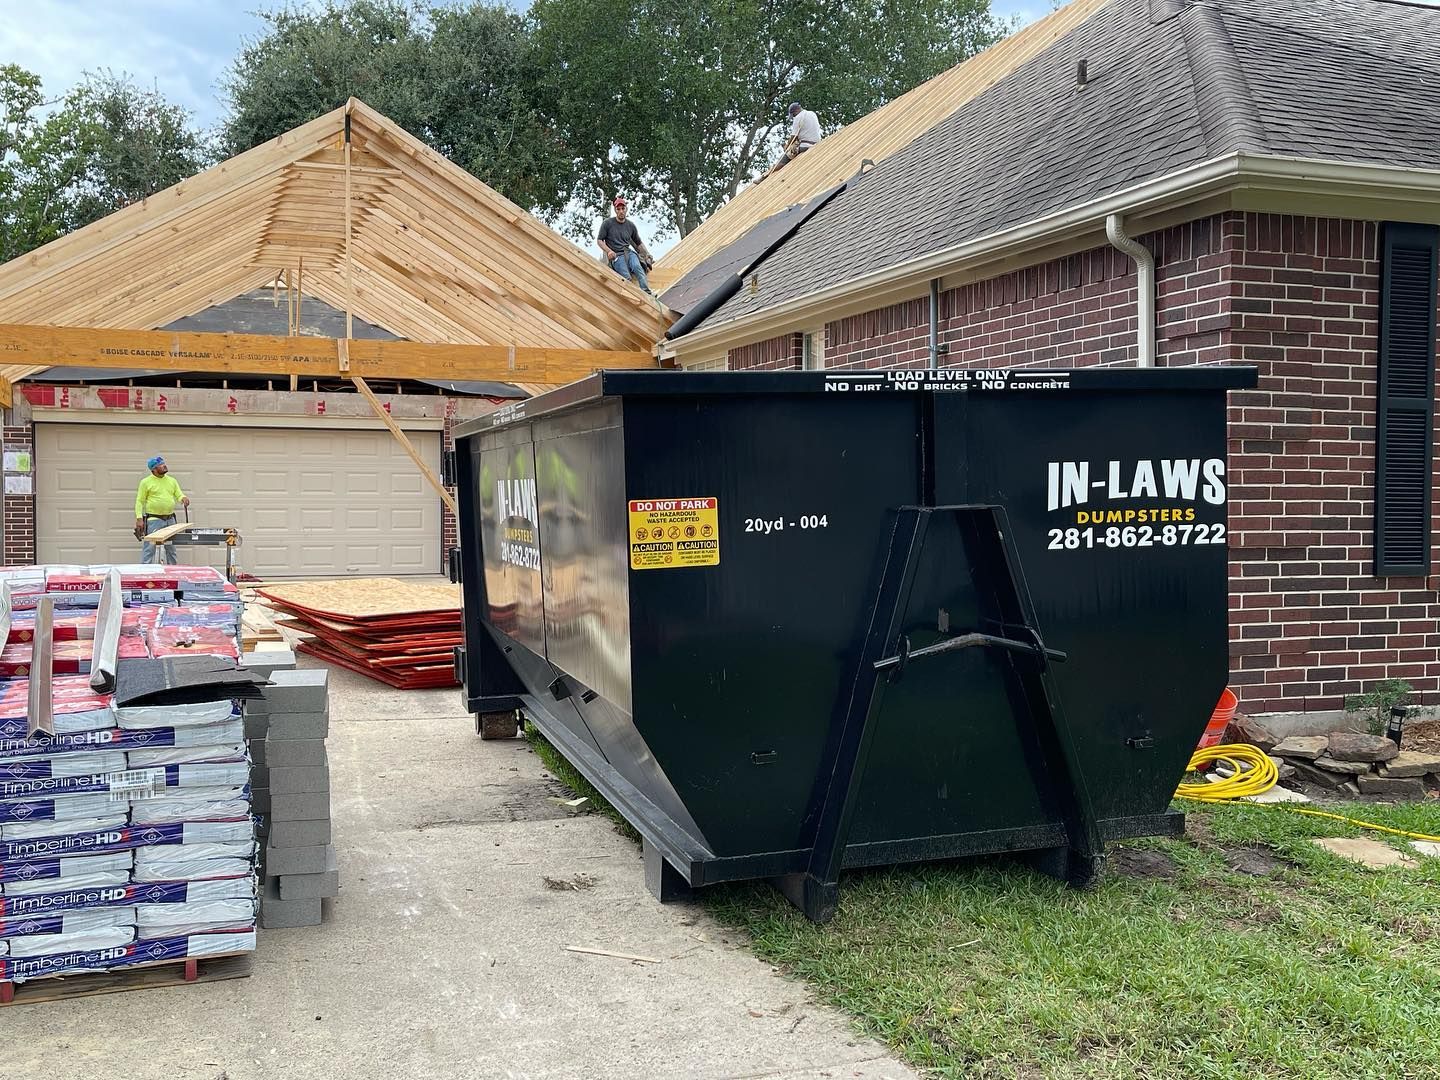
Whether you’re tackling one room or renovating the entire house, a dumpster rental simplifies the process and keeps your work area safe, clean, and organized from start to finish.
Bonus Tip: Consider Recycling Options
Before you toss everything out, it’s worth checking if parts of your carpet can be recycled. Some carpet materials—particularly nylon and polyester—can be processed into new fibers or other products. Local carpet recycling programs may accept large quantities of old carpet, especially if it’s free of heavy stains or contaminants.
Ask your waste disposal provider whether they can separate recyclable materials from non-recyclable ones. Many professional dumpster rental companies, including In-Laws Services, aim to divert as much waste as possible away from landfills. Being mindful of how you dispose of your carpet helps reduce the environmental impact of your renovation project.
Why Proper Carpet Removal Matters
Beyond making your home look and feel refreshed, proper carpet removal has lasting benefits. It helps:
- Maintain indoor air quality by eliminating trapped dust, allergens, and odors.
- Prevent mold or mildew growth, especially in humid areas.
- Prepare floors for smoother installation of hardwood, vinyl, or tile.
- Increase property value by maintaining clean, well-prepped subfloors.
Homeowners often underestimate how much old carpet can affect the overall feel and health of a home. By taking the time to remove it properly—and disposing of it efficiently—you set the stage for a cleaner, safer, and more inviting space.
Final Thoughts
Carpet removal doesn’t have to be an overwhelming DIY chore. With a little planning, the right tools, and a reliable waste disposal partner like In-Laws Services, the process can be surprisingly straightforward.
By preparing your workspace, working in manageable sections, removing padding properly, cleaning the subfloor, and arranging convenient disposal, you’ll save yourself hours of hard labor and frustration. Plus, you’ll end up with a space ready for whatever comes next—whether that’s sleek hardwood, modern laminate, or a fresh new carpet.
When it’s time to roll up those old floors, remember: the easier the cleanup, the smoother the project. And nothing makes carpet removal easier than having the right dumpster on-site to handle the mess from start to finish.