
Houston Landlord’s Guide to Rental Property Cleanout and Dumpster Rentals
Houston Rental Property Cleanout Guide for Landlords and Property Managers
There is a particular kind of quiet that settles over a rental after a tenant moves out. The TV is gone, the cabinets are bare, and the keys are finally back in your hand. Then you open the garage, look into the spare bedroom, and realize the “quick turnover” has turned into a full cleanup job.
Maybe there is an old couch in the living room, bags of clothes in the closets, a refrigerator full of expired food, and carpet that needs to come out before the painter can even get started. If you manage a few Houston rentals, you probably know the feeling. One move-out can turn into a long list of calls, pickups, repairs, and scheduling changes before the next tenant can walk through the door.
At In-Laws Services, we work with homeowners, landlords, and property managers who need a practical way to deal with bulky items, household trash, light demolition debris, and cleanup deadlines. A rental property cleanout is not just about getting things out of a unit. It is about getting the property back on track.
This guide covers how to document damage, sort abandoned belongings, plan a dumpster rental around lease dates, handle light demo debris, and keep a vacant Houston property from becoming a curbside dumping ground.
Start Before You Start Hauling
When a tenant leaves behind a mess, the first instinct is usually to grab contractor bags and start clearing the place out. We understand it. You have a vacant unit, money is tied up in the turnover, and someone may already be asking when they can move in.
Still, give yourself one calm walkthrough before anything goes into a dumpster.
Walk the property with your phone and take photos or video of each room. Start wide so you capture the overall condition, then move closer to document the details: stained carpet, broken blinds, missing fixtures, holes in drywall, damaged cabinets, trash in the yard, or furniture left in the garage.
This is not busywork. Good photos can make a big difference when you are reviewing repair costs, explaining a security-deposit deduction, talking with an owner, or trying to remember exactly what the unit looked like three weeks later.
Photograph the Whole Story
Take photos before anyone moves furniture, pulls carpet, or begins repairs. A clean, well-lit walkthrough gives you a record of the condition the tenant left behind.Pay special attention to:
- Walls, ceilings, doors, and trim
- Flooring, carpet, tile, and baseboards
- Cabinets, countertops, drawers, and appliances
- Bathrooms, plumbing fixtures, and mirrors
- Closets, attics, garages, sheds, and patios
- Exterior trash, yard debris, and damaged fencing
- Items left behind in drawers, cabinets, and storage areas
A quick video walkthrough can be useful, too. Move through the unit slowly and narrate what you see if it helps you keep track of damage. When you are managing more than one property, it is easy for the details of one turnover to blur into the next.
Make a Simple List
You do not need a fancy property-management system to stay organized. A note on your phone, a shared Google Doc, or a clipboard can do the job.
Make a room-by-room list of what needs attention. Separate it into a few basic categories:
- Belongings that may need to be held or reviewed
- Items that can be donated, reused, or salvaged
- Household trash and bulky debris
- Repairs and light demolition
- Materials that cannot go into a dumpster
That list gives you a clearer picture of what the rental property cleanout will actually involve. It may turn out that you have a few bags of trash and one broken sofa. Or you may be dealing with three rooms of furniture, ruined carpet, old cabinets, and a shed full of boxes.
Those are very different jobs, and the plan should reflect that.
Handle Abandoned Belongings With Care
Not everything left in a rental is automatically trash. A stack of wet cardboard boxes may be easy to sort out. But a bedroom set, a box of paperwork, power tools, family photos, mail, or electronics deserve a second look before anyone starts loading.
Before disposal, review the lease and follow the process that applies to your situation. Texas landlords may have obligations related to notice, storage, or disposal of items left by a tenant, depending on the lease terms and circumstances. If the situation is unclear, speak with a qualified legal professional before throwing anything away.
We are in the dumpster business, not the legal-advice business, but we have seen enough rushed turnovers to know that slowing down for a first pass can save a landlord from a much bigger headache later.
Create Three Piles
A straightforward sorting system keeps the cleanout from getting out of hand.
The first pile is trash and approved disposal debris. This may include torn furniture, ruined mattresses, spoiled food, broken household goods, damaged carpet, packaging, and non-hazardous debris that is clearly beyond saving.
The second pile is usable or salvageable material. Sometimes that means a table that needs cleaning, a working microwave, unopened household supplies, usable shelves, or old but serviceable furniture. If you have time and a local organization that can accept the item, donation can be a good option. If not, you may still be able to reuse certain materials at another property.
The third pile is items to review or secure. Put documents, mail, photos, medication, financial records, keys, jewelry, electronics, tools, and anything with possible value in a protected area until you confirm what should happen next.
This step does not have to take all day. But it is much easier to separate a box of documents in an empty bedroom than it is to find it after it has been mixed with carpet and broken cabinets.
Check the Forgotten Spaces
The places that get missed are usually the places where surprises are hiding. Open every cabinet. Check the top shelf of every closet. Look behind doors, beneath beds, inside bathroom vanities, and in the garage. If the property has a shed, attic, patio storage box, or crawlspace access, add those to your walkthrough list.
We have all seen the classic move-out leftovers: one lonely chair in the corner, a garage refrigerator that no one claimed, and a closet full of clothes that somehow got overlooked until the very end. Those things add up quickly during a rental property cleanout.
A little extra time at the beginning keeps the rest of the project from turning into a scavenger hunt.
Schedule the Dumpster Around Your Rental Property Cleanout
The timing of a dumpster rental can either keep the turnover moving or make the job more complicated than it needs to be.
The best time to schedule depends on the condition of the property, your access to the unit, the amount of debris, and the repair work that follows. For many landlords, the goal is simple: get the trash out, get the repairs done, and get the unit ready without leaving a mountain of debris in the driveway.
At In-Laws Services, we offer 3-day and 7-day rental options, as well as same-day or next-day delivery availability when scheduling allows. That flexibility can be useful when a tenant turns in keys on a Friday and you are trying to have cleaners or contractors in the unit early the following week.
Confirm Access First
Do not schedule a dumpster before you have confirmed that the unit is ready for you to enter and begin the cleanout. You want the former tenant fully moved out, the property accessible, and any questions about belongings addressed before the container arrives.
Once that is settled, think about when the actual debris will start coming out.
If the property is filled with furniture, bags, carpet, and leftover items, it often makes sense to have the dumpster delivered at the start of the cleanup. Your crew can sort first, then load as they work instead of dragging debris from room to room or stacking it in the garage.
If the cleanup is smaller but repairs will create debris, you may want to schedule delivery for the same day demolition or flooring removal begins.
Work Backward From Move-In Day
The next tenant’s move-in date is usually the date that matters most. Work backward from there.
Ask yourself:
- When will the old tenant be completely out?
- When can the inspection happen?
- How long will it take to sort and remove leftover items?
- Are painters, cleaners, flooring crews, or handymen already booked?
- Will repairs create carpet, drywall, cabinet, or fixture debris?
- Does the unit need a final walkthrough before the next lease begins?
A typical turnover can move fast. A landlord may get keys on Friday, have a dumpster delivered Saturday, clear the unit over the weekend, remove carpet Monday, paint Tuesday and Wednesday, and have cleaners in by Thursday. That is not unusual when the first of the month is around the corner.
When the dumpster is part of the schedule from the beginning, everyone has a place to put debris. When it is an afterthought, the old couch sits on the porch, carpet gets rolled into the garage, and the contractor starts asking where to put torn-out cabinets.
Choose a Practical Drop-Off Spot
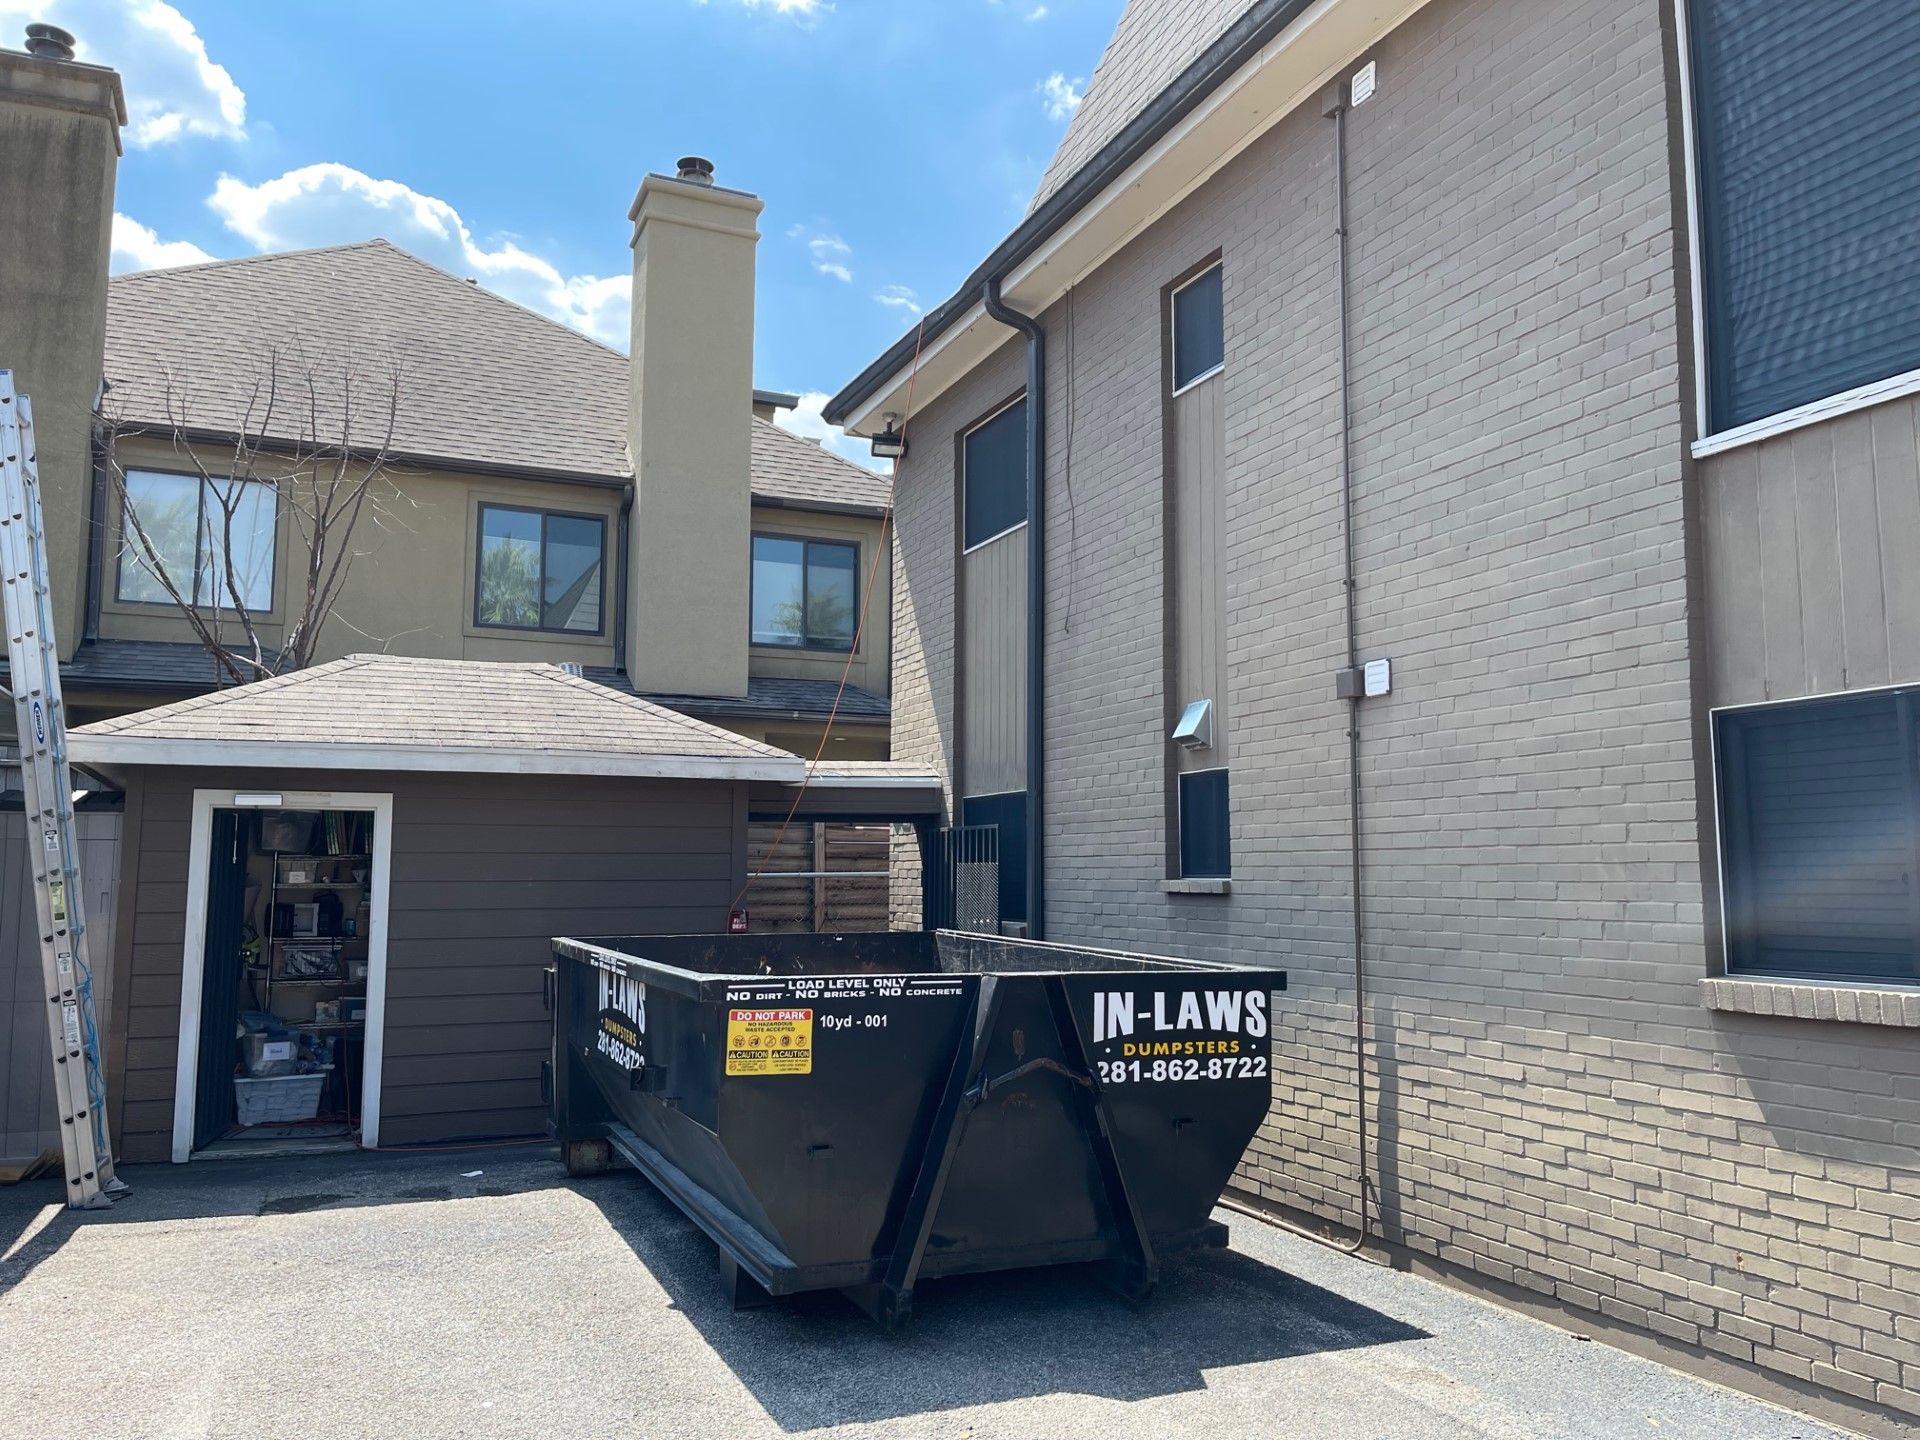
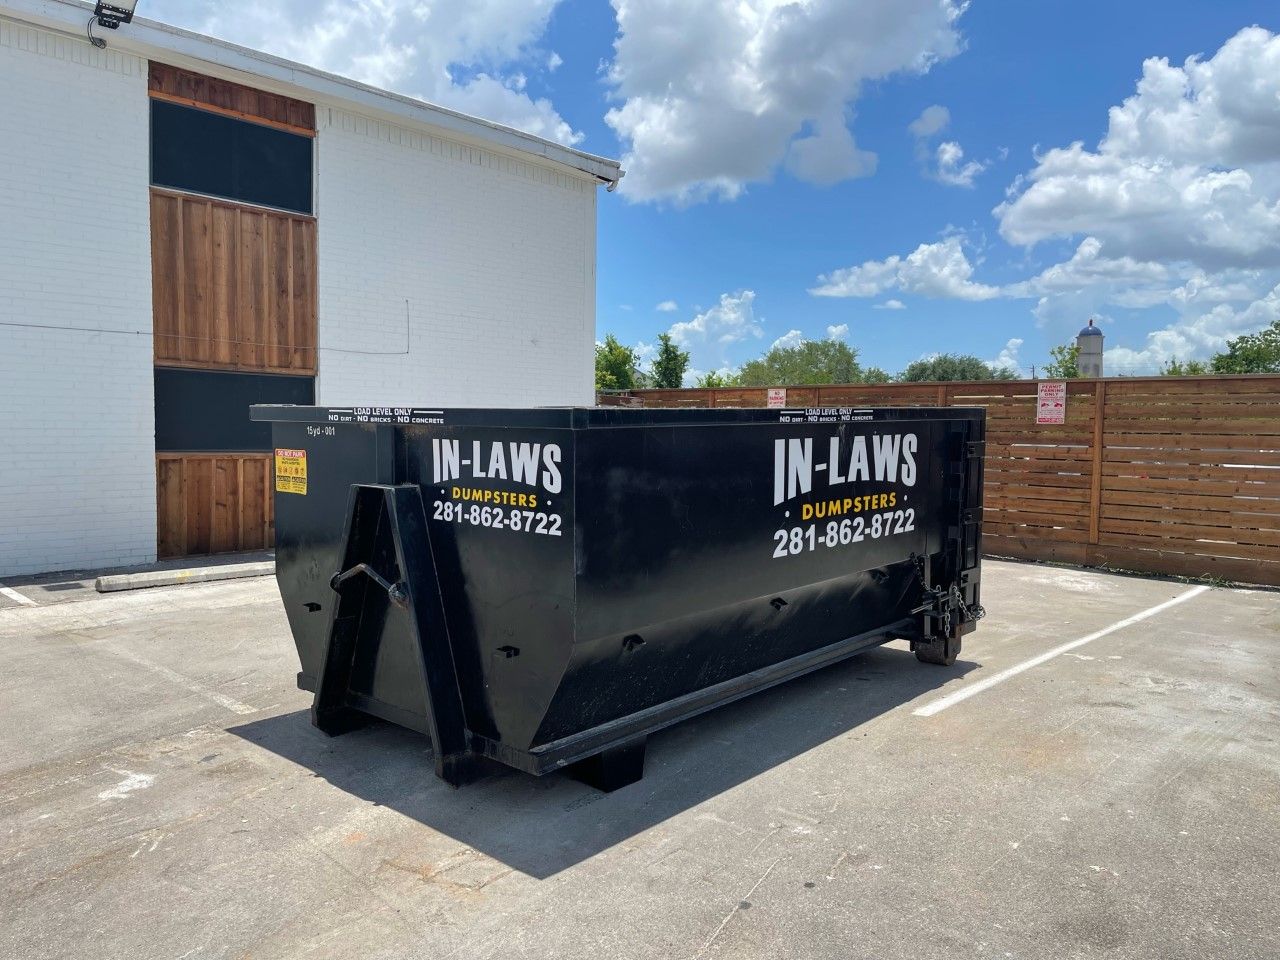
Before delivery, pick a location that is convenient for loading but does not block your work. Driveways are often the simplest option for single-family rentals. At apartment buildings, duplexes, or smaller multifamily properties, you may need to think more carefully about parking, resident access, gates, and tight turns.
Clear cars, tools, bags, and equipment from the delivery area before the truck arrives. Look up, too. Low branches, overhead wires, carports, and roof overhangs can make placement difficult. In-Laws recommends clearing the area, marking the desired placement spot if you will not be on site, and ensuring the truck has a clear path in and out.
If you plan to place a dumpster on a public street or sidewalk, check the local requirements first. In Houston, dumpsters placed on private property generally do not require a permit, while placement in a public right-of-way may require a roadway and sidewalk obstruction permit.
Know What Can Go In
One of the easiest ways to slow down a cleanout is to load materials that are not allowed in the dumpster. It happens most often near the end of the job, when someone finds old paint in a closet, a propane tank in the garage, or an abandoned television in the back bedroom.
For standard rental property cleanout jobs, In-Laws Services can accept many common materials, including household furniture, bed frames, general trash, flooring, carpet, drywall, construction debris, yard waste, storm debris, plumbing fixtures, shingles, old tools, and many other non-hazardous items. That covers a lot of what landlords deal with during a turnover.
Common Turnover Debris
A dumpster can be especially useful for:
- Sofas, chairs, tables, and broken furniture
- Mattresses and bed frames
- Household trash and bagged clutter
- Carpet, padding, flooring, and tile
- Damaged cabinets, doors, trim, and shelving
- Drywall and wood scraps from minor repairs
- Bathtubs, sinks, and non-hazardous plumbing fixtures
- Yard clippings, branches, and storm debris
- Empty boxes and packaging from repair projects
- Foreclosure and property cleanout items
Mattresses are accepted by In-Laws Services but have an additional disposal fee, so it is worth mentioning them when you call.
Materials to Keep Out
Some items require a separate disposal plan and should not be placed in an In-Laws dumpster. These include hazardous waste, asbestos, flammable liquids, medical waste, dirt, concrete, bricks, electronic waste, batteries, non-empty paint cans, propane tanks, televisions, refrigerators, and freezers.
When in doubt, ask before you load it. A five-minute conversation before delivery is much easier than realizing at pickup that a prohibited item got buried under a load of carpet and furniture. It also lets your crew start the job with a clear understanding of what belongs in the container and what needs another route.
Make Light Demolition Less Messy
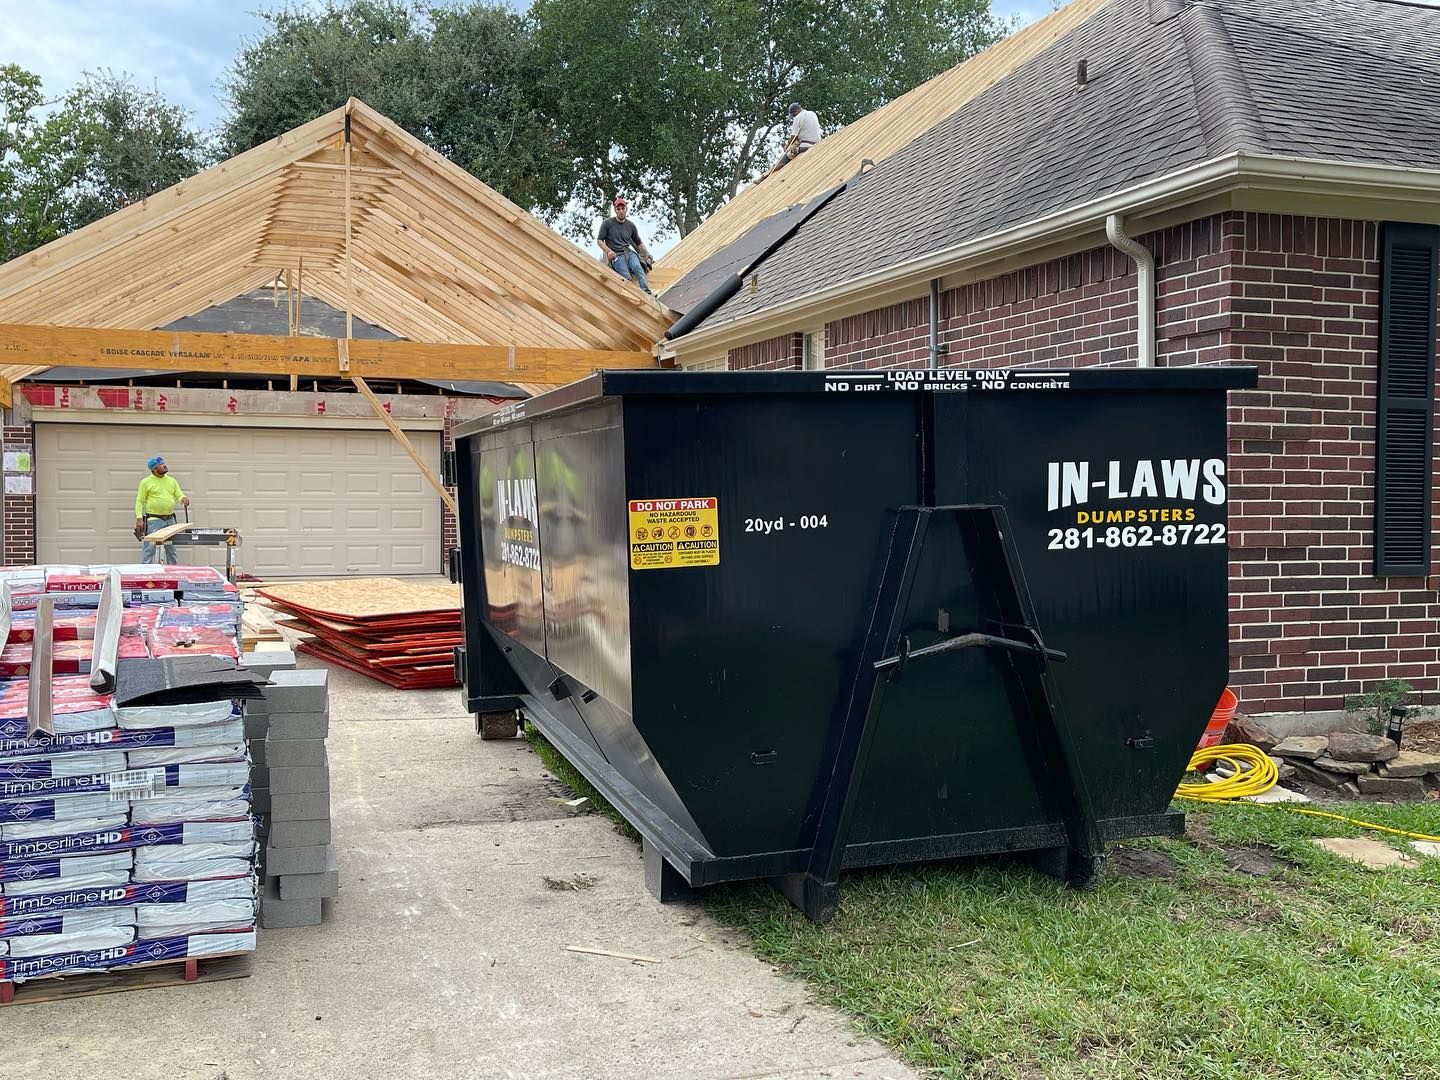
Most rental turnovers are not major construction projects, but plenty include a little demolition. Maybe the carpet is too stained to save. Maybe a vanity is swollen from a plumbing leak. Maybe the tenant painted the bedroom navy blue and left drywall damage behind. Maybe old shelves need to come down so you can patch and repaint.
Small jobs create a surprising amount of debris. A bedroom of carpet can fill up quickly. Cabinets take up more space than they look like they will. Drywall creates dust everywhere. By the time a maintenance crew has pulled a few doors, removed baseboards, and taken out damaged flooring, the garage can look like a renovation site.
Clear First, Demo Second
Do not start tearing up floors or pulling fixtures while personal belongings and household junk are still scattered through the unit.
First, document the space. Then sort and remove the abandoned items you are authorized to dispose of. Once the rooms are clear, you can see what actually needs repair.
This order keeps the job safer and makes it easier for your contractor to work. It also prevents a common problem: new repair materials getting mixed with old debris because the unit is too crowded to stage anything properly.
Keep New Materials Safe
During a fast turnover, old materials are leaving while new ones are arriving. Flooring boxes show up. Paint gets delivered. A new vanity or appliance lands in the driveway. Suddenly there are materials everywhere.
Choose one protected area for new supplies. Keep them away from the dumpster and away from the cleanup pile. It sounds basic, but it matters when several people are moving quickly through a vacant property.
Nobody wants to discover that a stack of brand-new trim got tossed with the old baseboards.
Load Smart, Not Fast
Heavy items should go in first and low in the container. Break down boxes. Keep bulky furniture from creating empty pockets of wasted space. Spread debris across the dumpster instead of building one huge pile at the front.
And keep everything below the top edge of the container. Overfilling can create safety issues and may prevent a load from being transported properly.
A little organization makes a dumpster go much farther, especially when you are clearing a unit with a mix of furniture, carpet, and repair debris.
Keep Debris Off the Curb
Nothing makes a rental look more abandoned than an old sofa, a torn mattress, and a row of black trash bags sitting outside for days.
It can also create more work. Once people see debris on the curb, they may assume the pile is fair game. A landlord starts with one former tenant’s broken furniture and wakes up the next morning to someone else’s tires, boxes, and mystery bags added to the stack.
That is how a manageable rental property cleanout can turn into a neighborhood eyesore.
Do Not Count on Bulk Pickup
City or neighborhood bulk pickup may work for a small amount of waste, but it is not always a good match for a full move-out cleanout. Collection schedules, item restrictions, and volume limits can leave debris sitting outside longer than you planned.
That creates an awkward situation when you are trying to show the property, send a contractor over, or welcome a new tenant.
A dumpster gives you a controlled place to load approved materials as the job happens. Instead of hoping the pickup schedule lines up with your turnover, you can keep the cleanup moving on your own timeline.
Check the Exterior Every Day
Vacant rentals need a quick exterior check while cleanup is underway. Walk the driveway, curb, yard, alley, and side gate. Look for bags that missed the dumpster, loose debris after a windy Houston afternoon, or items that showed up from someone else.
This is especially important after storms. Houston weather can turn yard waste, wet boxes, and loose debris into a bigger mess overnight. Keeping the outside of the property neat sends a message to neighbors and discourages people from treating the address like a dumping spot.
Build a Repeatable Turnover Routine For Your Rental Property
The first few rental cleanouts may feel chaotic. After a while, you start noticing the same pattern: keys come back, a few surprises appear, repairs stack up, and the next lease date gets closer than expected.
The easiest way to reduce that stress is to create a repeatable process. At In-Laws Services, we recommend thinking of every cleanout in the same order, even when the property itself is different.
A Practical Cleanout Flow
Start by confirming the unit is vacant and accessible. Document the condition of the property. Review the lease and handle abandoned belongings carefully. Sort what can be reused, what needs to be secured, and what is ready for disposal.
Then schedule the dumpster around your cleanup and repair days. Clear the trash and bulky items. Move into carpet removal, minor demolition, repairs, painting, and cleaning. Finish with a final walkthrough before the property is shown or turned over to the next tenant.
This is not glamorous work. It is the behind-the-scenes part of rental ownership that nobody posts photos of. But it is also the part that protects your property, keeps your team moving, and gives the next tenant a better first impression.
Keep Records for Future Turnovers
Save your photos, contractor invoices, work orders, disposal information, and notes from each move-out. You may never need every detail, but it helps to have a record when questions come up.
Over time, those records can show you where money is going. Maybe one unit needs recurring plumbing repairs. Maybe a particular property has a consistent illegal-dumping problem. Maybe carpet replacement is becoming more frequent than expected.
A good turnover file turns a frustrating cleanout into useful information for the next one.
Let In-Laws Services Help With Your Rental Property Cleanout
A rental property cleanout may start with a few abandoned boxes and end with old carpet, a broken vanity, three mattresses, and a garage full of clutter. That is just how turnover days go sometimes.
At In-Laws Services, we provide Houston dumpster rentals for property cleanouts, household debris, renovation waste, yard debris, and more. We offer 3-day and 7-day rental options, and our team can help you plan for delivery, placement, and the materials your project involves.
Give us a clear picture of the property: how many rooms you are clearing, what large items were left behind, whether you are removing carpet or cabinets, and where the dumpster can go. We will help you choose a practical rental option so you can clear the old mess, finish the repairs, and get the property ready for its next tenant.
Houston Landlord Cleanout Questions, Answered
Can I use a dumpster for a tenant move-out cleanout in Houston?
Yes. A dumpster can be a practical option when a tenant leaves behind furniture, bagged trash, carpet, damaged household items, or light renovation debris. Before loading the dumpster, document the property and make sure you have handled any belongings that may require review, storage, or notice under your lease or applicable requirements.
How long should I keep a dumpster during a rental property cleanout?
The best rental length depends on the amount of debris and whether repairs will continue after the initial cleanout. In-Laws Services offers 3-day rentals for focused projects and 7-day rentals for more extensive work that creates debris over several days.
Can I put carpet and old furniture in an In-Laws dumpster?
Yes. In-Laws Services accepts common cleanout materials such as furniture, bed frames, carpet, flooring materials, household trash, drywall, wood scraps, and renovation debris. Mattresses are accepted but carry an additional disposal fee.
Where should a landlord place a dumpster at a rental property?
Place the dumpster on a clear, accessible area of private property whenever possible, such as a driveway. Remove vehicles and obstacles, check for low branches or overhead wires, and make sure the delivery truck has room to enter, turn, and exit. Placement on a public street or sidewalk may require a permit in Houston.
What should I do if someone adds trash to my rental dumpster?
Check the property regularly while the dumpster is on site and keep loose debris off the curb. If possible, place the container where it is visible to your crew but does not invite casual dumping. Let your maintenance team know what materials belong in the dumpster, and contact In-Laws Services if unauthorized dumping affects your cleanup plan.